For Razz and Shrimpie’s Birthday Party, I wanted one of those pennent-flag-banner type thingies that are just too cute. Since I have a lot of paper lying around, I decided I would do it myself instead of buying one.
First, decide on the color / theme and find 12×12 paper that fits that scheme. Depending on how many letters, decide how many 12×12 sheets you need. The way I did it, each 12×12 sheet made 6 flags. There are other ways, but I thought this was more efficient (SAVE for MEXICO – running joke with my family b/c we are all trying to limit our expenses so we can all go to Mexico for a family reunion).
Because I’m a dork and had no ruler (a scrapper with no ruler, what-what???), here’s how I did measurements to create the flag.
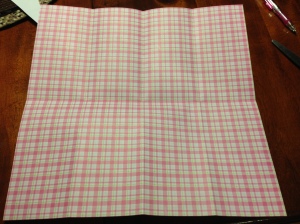
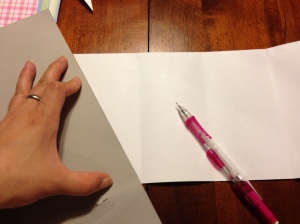
Fold it in half:
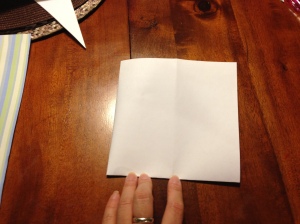
Fold it in half again, making a square. Don’t fold too hard so you won’t get harsh lines on your end result.
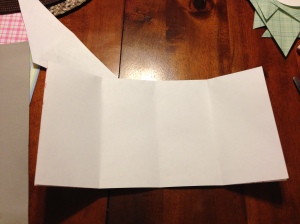
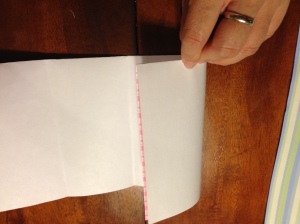
Fold it into quarters:
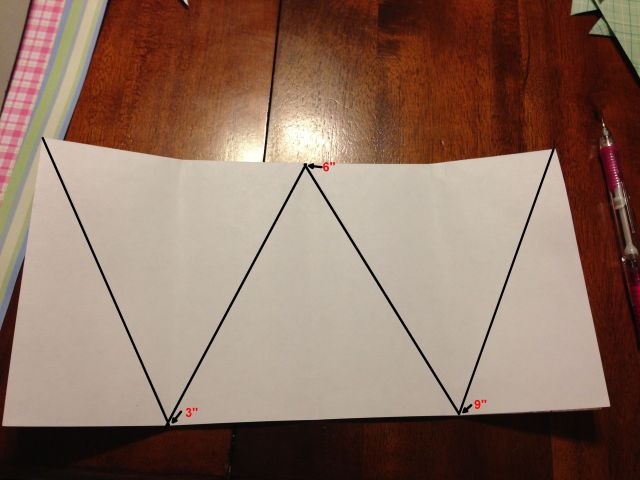
Get something with a straight edge and draw a diagonal line from far left corner to first corner of the 1st quarter edge. Now, if you have a ruler, you can go straight to this step after folding in half. Just mark every 3 inches. So, you would mark, it at 3”, 6” and 9” then draw the diagonal lines:
It should look like this when done (it was so hard to see the pencil lines so I edited the photo and darkened the lines and also put the markers for 3”, 6” and 9”):
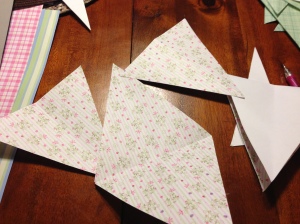
Cut along the triangles and then the ones that are on the fold (diamond shape), cut through the center:
To create the circles, I actually had a circle cutter with a setting on 3 for diameter. I’m sure you can use any round thing, trace and cut.
I wrote the letters freehand using a big Sharpie – you can use stickers, stencils, Sizzix, Cricut, etc.
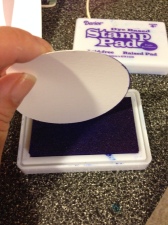
To make the circles “POP”, I ran the edges along ink from a stamp pad.
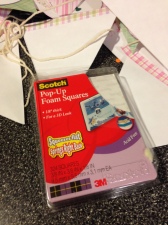
To make them pop even more, I mounted them on using the foam mounting squares.
Fold the backs a little at the top, maybe a quarter of an inch. That’s where you’re going to put the string. The string I used was just kitchen twine I had lying around.
Assemble your letters backwards! Ha, I learned this the hard way!!! I started spelling out “HAP” moving left to right hot gluing backwards and then I looked and it say PAH! Oops.
So, I made sure to stack my letters spelling HAPPY BIRTHDAY Backwards ie: YADHTRIB YPPAH for one flag and then NICA & SHRIMPIE flag was stacked as: EIPMIRHS & ACIN.
You can also just glue/string everything and put all the letters later…Up to you…or glue it in a different fashion…whatever works 🙂
Make sure you have enough slack on both ends to tie it wherever you need to tie it. I spaced the letters about a quarter of an inch and the words about 3 inches…voila!
PS – I have a ruler now. Clearance for $0.29….yeah bossss….!!! SAVE FOR MEXICO!
